Tuesday Night Talk to Junior Cyclists

On Tuesday night, during the usual Brunswick Cycling Club​ Racing Night, I had the chance to talk to the juniors and their parents about injury prevention and performance optimisation. I was happily surprised by the number of people attending (over 30). Thanks to everyone who promoted this short talk and brought their friends along.11137073_1605401766364928_670034534_n

For those who had questions on young kids development and training,   please refer to the website of Canadian Sport for Life and the Long Term Athlete Development (LTAD) program for 6-9 years old, 10-12 years’old and older. I couldn’t find an equivalent Australian program except for general guidelines by the Australian Institute of Sport (AIS) and they refer to the Canadian program for more information.

Please fill this poll and don’t hesitate to give feedback regarding the talk.

For those who haven’t had the chance to access the report yet, they are available here:
Part 1: Fitting your bike
Part 2: Being fit on your bike

7 Tips to Get the Most Out of Your Body on Your Bike (Part 2)

In collaboration with my workplace, I’ve put together the best tips to help you ride longer, ride more often and even beat your mates.  final sprint

These tips will give you simple and practical information to improve your cycling capacity and to avoid injuries. This second part focus on body preparation to optimise your performance and prevent injuries. It is a good starting guide to know where to start when getting more serious about riding and racing.

Learn how to be fit on your bike: 7 Tips to Get the Most Out of Your Body on Your Bike (Part 2).

If you haven’t read the Part one, it’s a useful starting guide on bike fitting.

Christmas Gifts to Improve Training Quality

Santa Claus is on his way! Make sure he knows what you want for your next cycling season. Here are some ideas to improve the quality of  training, suitable for beginners to extremely enthusiastic cyclists.

1. Make sure your bike is properly fit for your body characteristics and your needs. Professional Bike Fitting are offered by bike shops or specialists in exercise, movement and body assessment like physiotherapists and exercise physiologists. The prices vary considerably so it is worthwhile to shop around and find was is available in your area. I would definitely recommend to use a specialised resource that will assess not only your length to positioned the saddle and the handlebar, but that will take into account your flexibility, strength, posture, etc. It should also include a dynamic fitting to make sure your cycling stroke are smooth and efficient. The best time to modify your position on the bike is the off season period if you are a competitive rider or as soon as possible if you change bike which can have a different frame geometry and affect your fitting.

2. Record all the data you want from your rides with a Bike GPS, heart rate monitor, cadence and speed sensors, and power meter. With the big range of devices available at the moment, it is important to know which option you want and what data you want to collect: distance, elevation, speed, cadence, power, heart rate? Some devices, like the Garmin Edge 510, have different map options and offers the possibility to load a course which is helpful when riding in new area. The most expensive GPS are tiny computers that have real map like the Garmin Edge 1000. A good advice is to make sure your device is “ANT+” which enables you to connect any “ANT+” sensor your GPS can handle. Garmin recently released new wireless Speed and Cadence Sensors that are quite compact and do not require magnet. They easily fit on the crank arm and the hub of the wheel to give accurate cadence and speed whether your riding outdoor or indoor. On the other hand, if you have a smartphone and just want to record distance, speed and elevation, free apps are available like Strava and Map My Ride.

Spining

Spinning on the rollers

3. For those days when the weather gets out of control or you just don’t want your ride to feel like a punishment with the rain, the cold and the wind; but you still want to get your legs moving, the Trainer or Rollers are a good option to train indoor. One or the other will be more appropriate according to your needs. If you aim easy to moderately intense ride and want to improve your bike skills, control and balance, the rollers are a good option. If you want to do more intensity and intervals or if your bike skills and balance are not excellent, the trainer is a better option. With the back wheel safely fixed to the trainer, there is no chance of fall and you can vary the intensity to get a good intense workout. If you already have a trainer or rollers, there is a growing variety of Spinning Videos and Motivation Videos that can make your indoor session more enjoyable (See an example below). Some rollers are now also available with resistance but they are a lot more expensive.

With all those ideas to improve the quality of your training, just keep in mind that they are all useless unless you get on your bike and use them…

Enjoy your ride and your new gadgets.

Hands position to improve comfort

Ever wonder how to reduce the vibration in your hands when riding on rough surfaces? Or how to avoid early onset of fatigue and soreness in your arms and hands?

Well, most of the riders racing Paris-Roubaix or any cyclo-cross events seem to have found the position to minimise vibration and shock induced to their hands and arms. In those races with extremely rough surfaces (cobblestone, dirt),  the level of vibration can definetely lead to hand and finger numbness. If you pay attention to the position of cyclists on rough segments of races, you will notice that they tend to ride with their hands on the top of the handlebar. It is somehow surprising since this position makes it harder to keep an aerodynamic posture and to control the bike. Although, avoiding arm fatigue and hand numbness is probably more important in this situation. You can see on the video of the last 40km of  Paris-Roubaix 2014, that most cyclists change their position from the drop to the top within one minute of the cobblestone section.  (The first cobble section is at 14:00)

https://www.youtube.com/watch?v=TOXGU-kyj-I

Even if you don’t plan to ride on cobblestone soon, every area has his own rough road, so this will be helpful to increase comfort when riding.

A recent study (Lepine et al., 2014) showed that there is handlebarsa significant difference in acceleration (vibration) induced at the hands and buttock according to the hands position on the handlebar. In fact, when riding with the hands on the top, there is significantly less vibration than when on the drop, even if the pressure on the handlebar stays the same.

The angle of the wrist also makes a difference in the vibration transmitted through the arms but doens’t affect the saddle. To minimise vibration, the wrist should be kept in a neutral position, meaning aligned with the forearm. Therefore, having the wrists in extension or ulnar deviation should be avoided. This research was made with a small sample of cyclists (2), so can hardly be generalised to the cycling population, but gives good indication of what could be expected.

In the same research, they assessed the impact of the cyclist’s position on vibration, with two different wheel sets. The results were quite different according to the position of the cyclist. The most comfortable wheel set (tested previously with standardised cyclist position) induced more vibration with the cyclist on the brake hood and wrist deviation than the other wheel set with the cyclist having his hand on the top. These results emphasise the importance of the cyclist position on the bike. I would add that the relation between vibration and cyclist position is probably due to the weight of the cyclist which is much more than the bike.

From my physiotherapist point of view, the position of the wrist and elbow when on the top of the handlebar is close to the best position for a joint which is the resting position. This position puts less strain in a joint and correspond to a straight wrist and slightly bent the elbow (70° of flexion). In this position, the joints are more relaxed and can adapt easily to vibration and shocks which decreased the transmission of vibraion through the arms. Riding with the hands on the top has another benefit which is the more upright position that reduces the pressure on the hands.

More tips to improve upper body comfort

  • Change position frequently between the drop, the brake hood and the top. Changing position gives you the opportunity to distribute the load on different joints and muscles of your arms, trunk and even using your leg muscles differently.
  • Wear good quality gloves with cushion on the loading area of your hand also reduces pressure and prevents early onset of soreness in your hands.
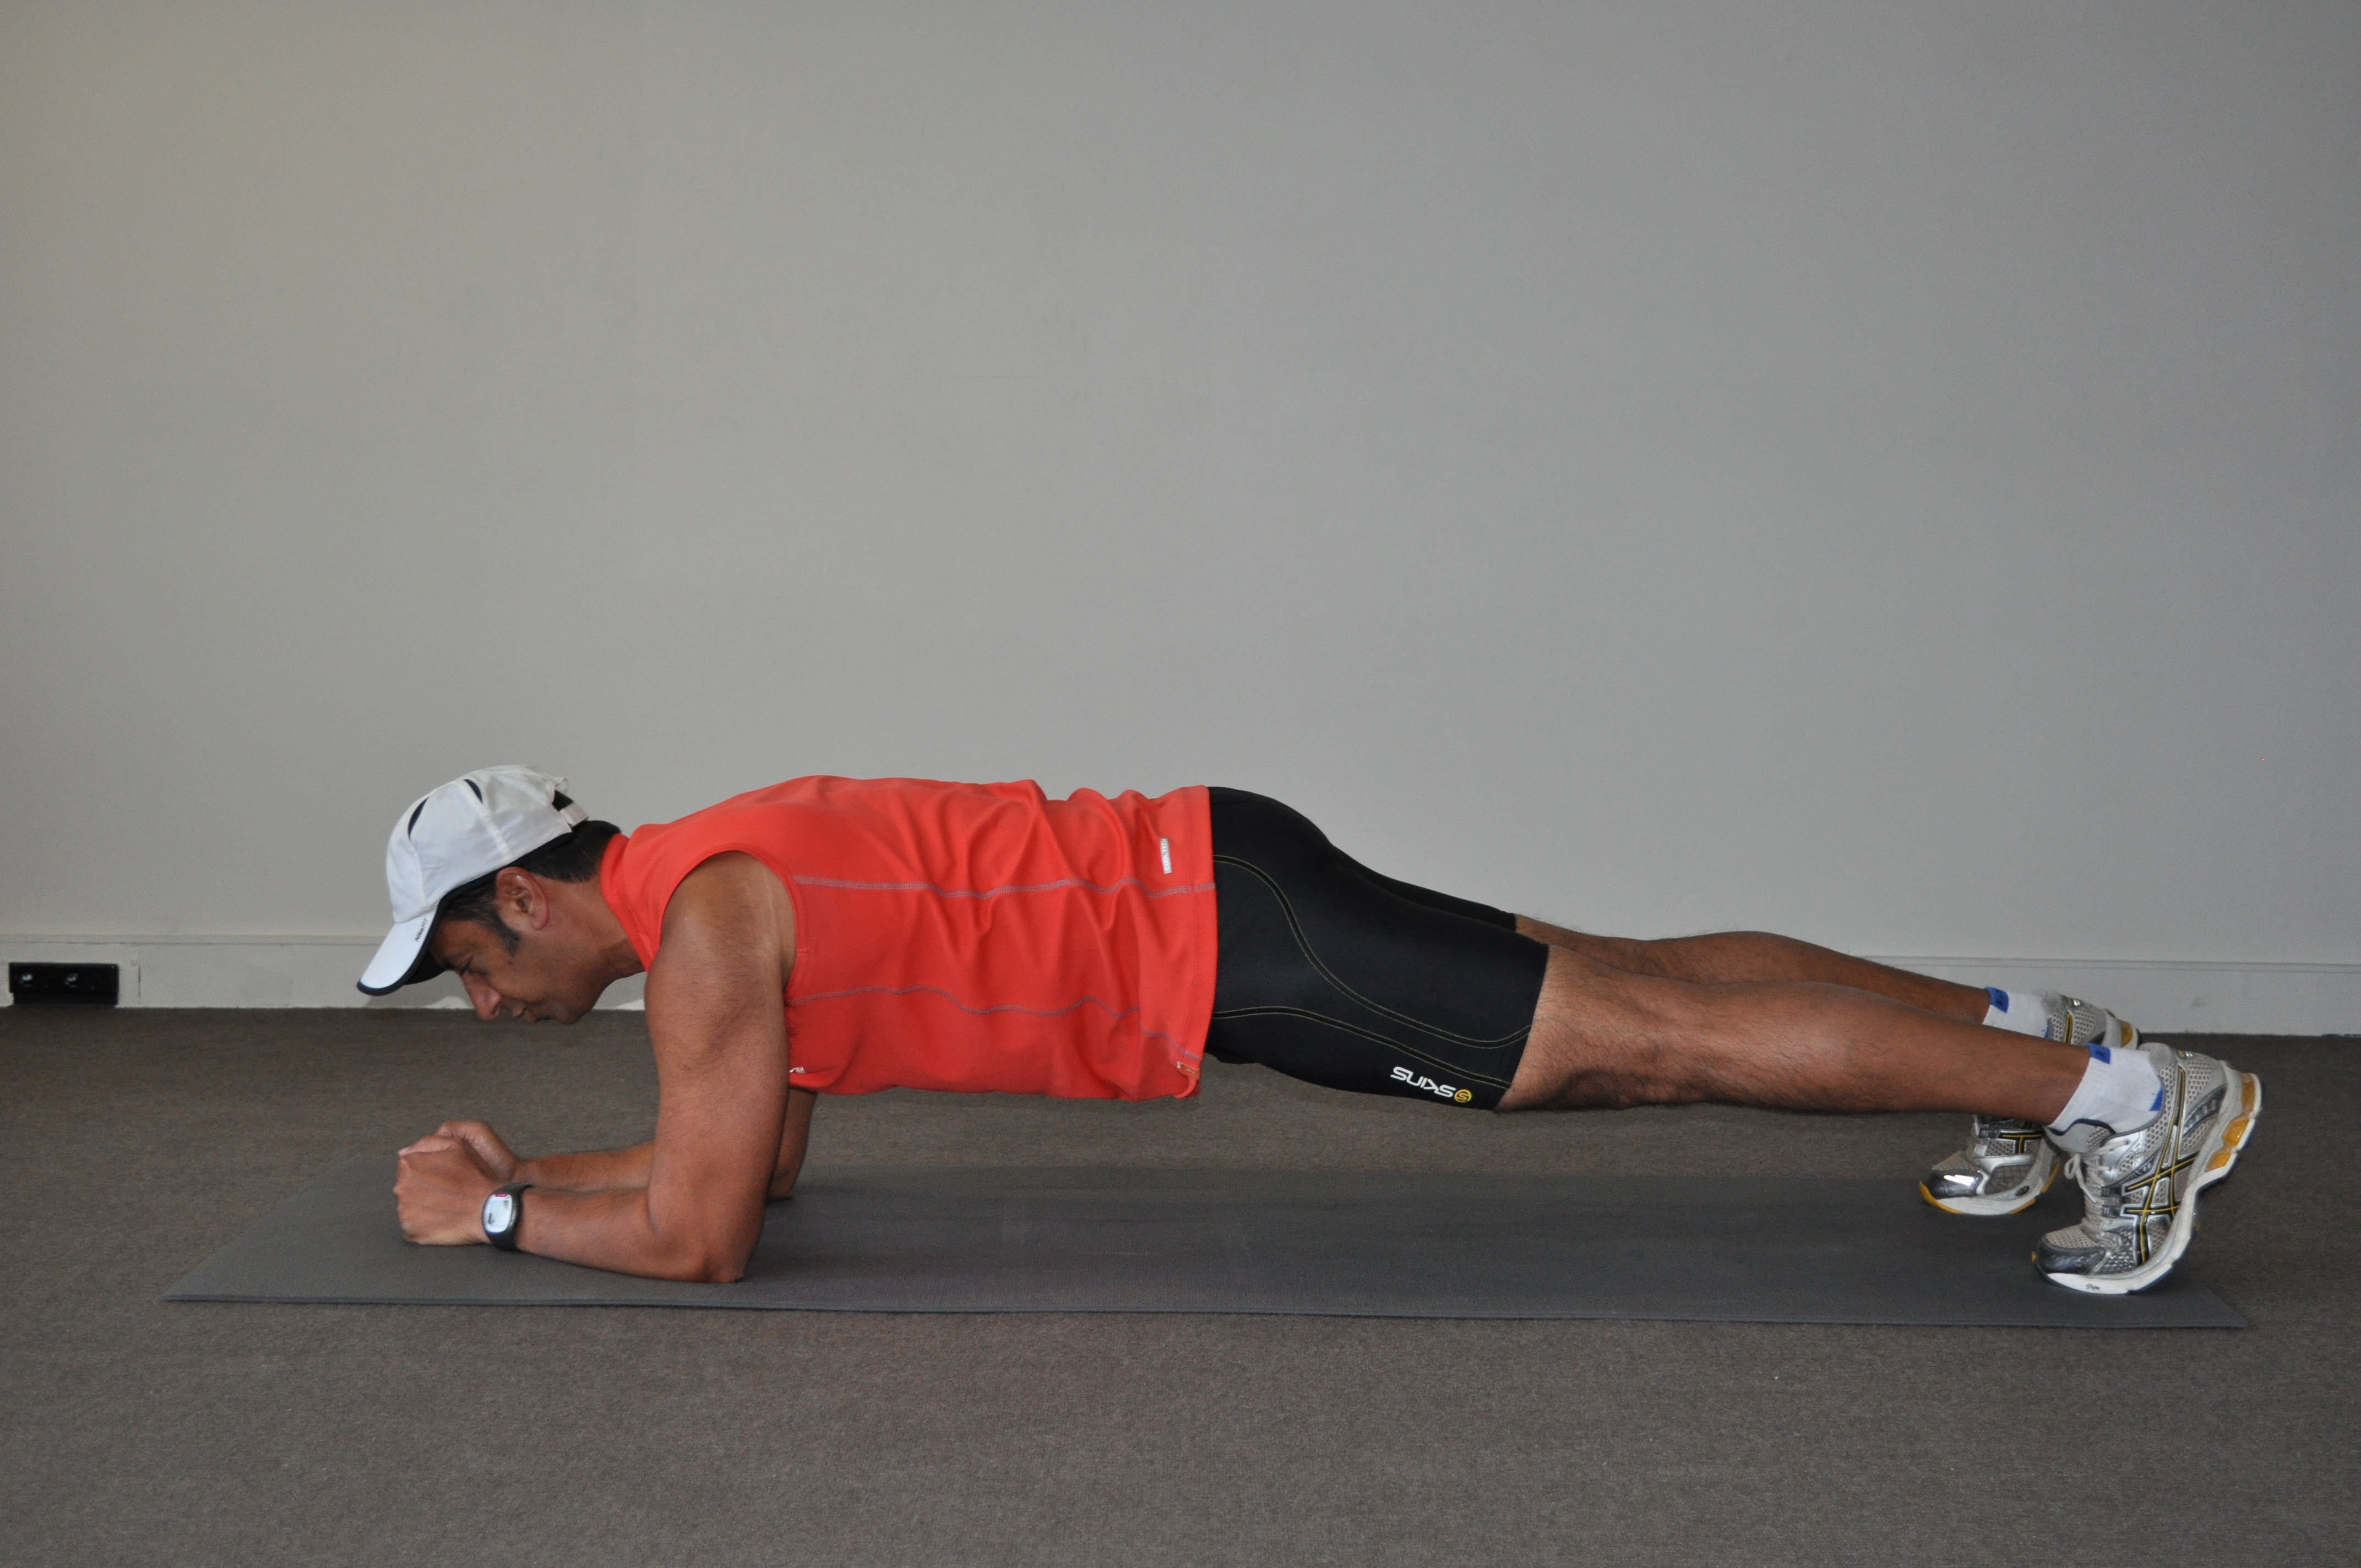
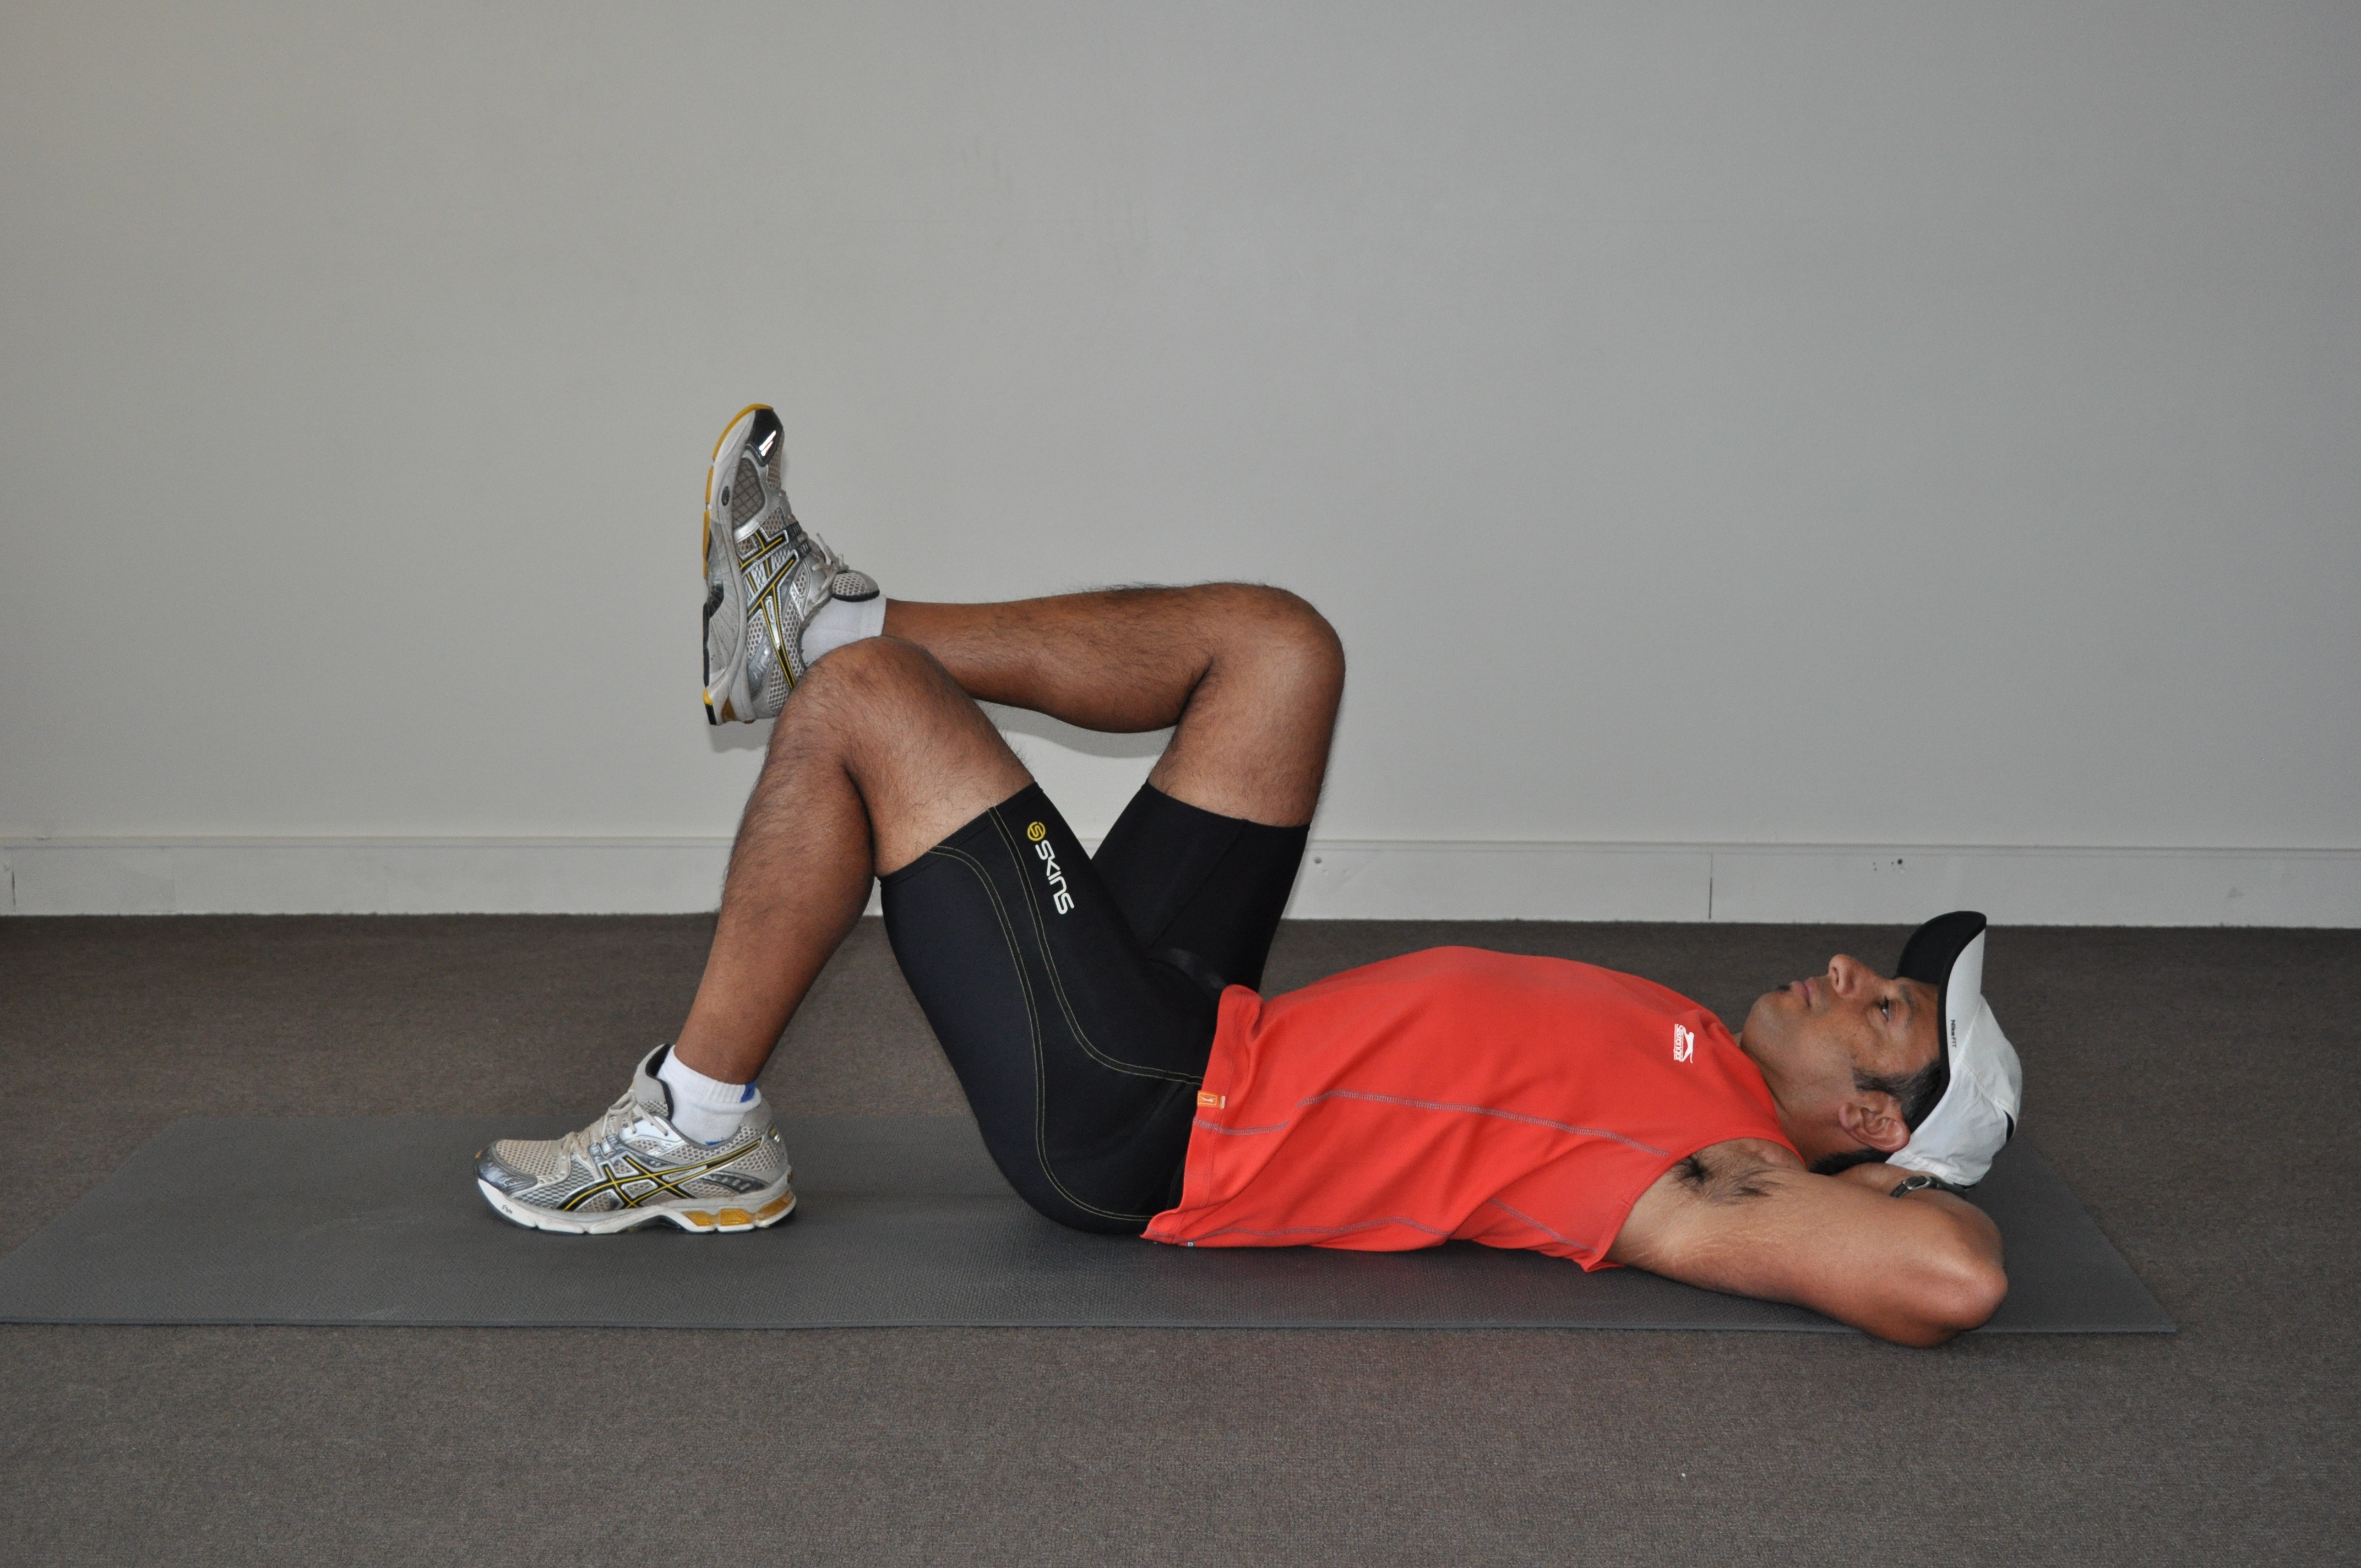
  • Make sure you have a good core stability to help support your upper body and to reduce pressure on your hands and arms.

In conclusion, if you ride on rough surfaces, try to put your hands on the top of the handlebar if your riding skills allow you to safely control your bike in this position. Otherwise, changing position, wearing appropriate gloves and having good core stability will make a difference especially for your upper body comfort.

If you want to read more about the research on bike comfort, the complete article:  Road bike comfort: on the measurement of vibrations induced to cyclist was published in Sports Engineering (June 2014) and can be found with this link.

I would like to thank my husband who his one of the author of this article and helped me to interpret the engineering materials.

Deep stabilizing muscles can affect cycling performance?

Which muscles should I train first to improve my performance?
Before you start doing high intensity weights training to improve strength and power, it is essential to have a good core stabilization. It doesn’t mean to have an impressive “6-pack” (superficial abdominal muscles) or prominent back extensors which you can train by doing “crunches” or back extensions. Good core stability is achieved by the deep stabilizer muscles like the transversus abdominis and the multifidus which effectively stabilize the spine. With optimal core stability, your strong legs and arms muscles are fixed to a stable base. Therefore, they are more efficient because they don’t need to play a role in stabilization. It also reduces the risk of injury while cycling and during weight training especially with free weights. These exercises are generally easy but require concentration and good motor control to be done properly. See some examples below.

Plank

Plank

4-point kneeling

4-Point Kneeling

Crook lying leg raise

Crook Lying Leg Raise

dead bug

“Dead bug”

Stay tuned for more details on the best exercises for core stabilization specifically for cycling.